If you want to capture not only the image but also the location where it is captured, you can use the image geo-tag question on Collect. It is particularly useful when you want to ensure that an image was clicked at a specific location, for example during an inspection or audit.
In this article, we will discuss:
- How to create an image geo-tag question on Collect web
- How to answer an image geo-tag question on Collect app
A. Creating an Image Geo-Tag Question
An image geo-tag question has multiple elements like question title, question keyword, description, and some quality settings. To understand them better, we will take a example and create it on Collect.
Example: We want to get the image of every respondent along with their location. For this, we will add an image geo-tag question on Collect. This question will look like the image below.
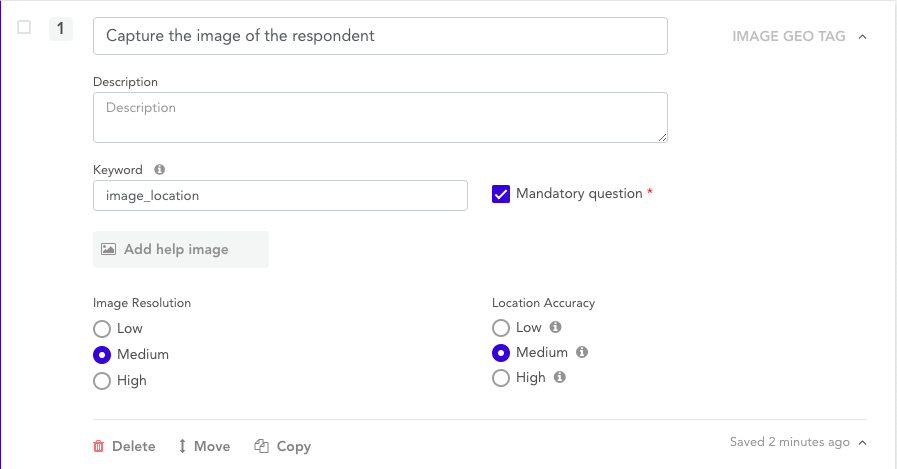
To create this question on the Collect web dashboard, we will add the following details:
- Question Title: "Capture an image of the respondent:"
- Mandatory Question: Yes (Check-marked)
- Question Keyword: "image_location"
- Image Quality: Medium (You can change image quality based on your preference)
- Location Accuracy: Medium (You can change location accuracy based on your preference)
B. Answering an Image Geo-Tag Question
When you open this question on the Collect app, it will look like the image below. To answer the question:
Step 1. Go to the image question and tap on "Geotag Image".
Step 2. Wait for the location to be fetched.
Step 2. Capture an image using the camera and click on "Save".
Step 3. If you have answered all other questions, click on "Submit" to submit the complete response.

Note:
In addition to image geo-tag question, Collect supports 25+ other question types like image, location, signature, etc. You can read more about them in this detailed guide.